If there’s one thing the Pacific Northwest is known for, it’s the rain. But what it doesn’t get enough credit for is the sunny Summers, awesome Autumns, and the occasional snow in the Winters. We get all four seasons in our corner of the country but rarely do we see the extremes.
However, all of that weather can take its toll on our homes. Sun, rain, snow, and ice can damage or fade our roofing, siding, roofing, decking, and garage doors. And even though the garage door may be in perfect shape – opens easily with no squealing or grinding – the weather can make it appear less than perfect.
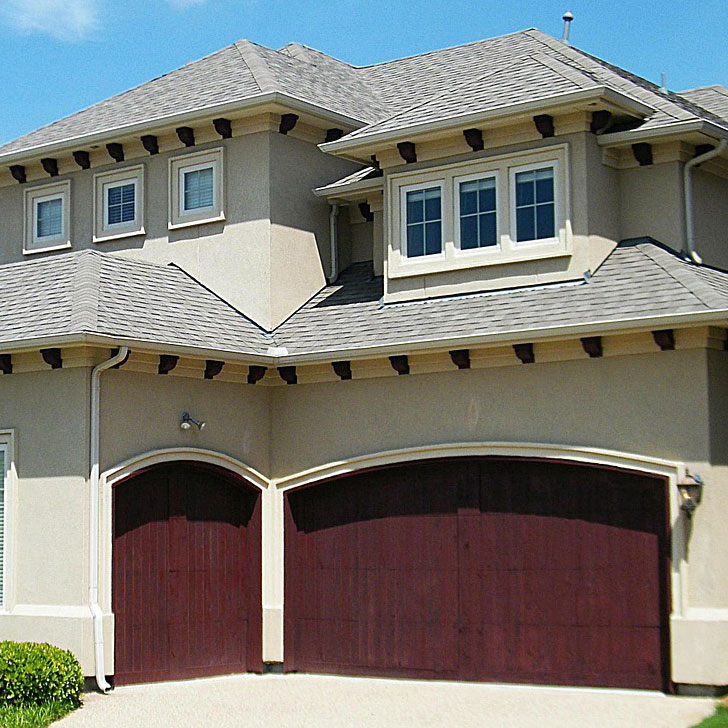
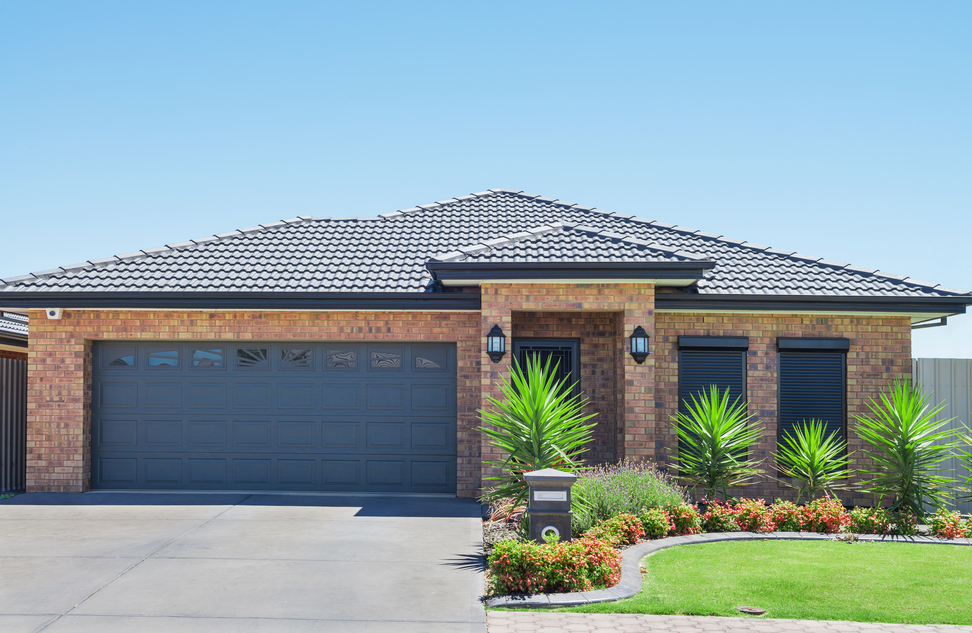
A faded, chipped, or rusted garage door affects how the whole house looks. A garage door can make up to 50 percent of a home’s street-facing appearance. So even though it’s in perfect shape otherwise, the garage door will still need a little TLC.
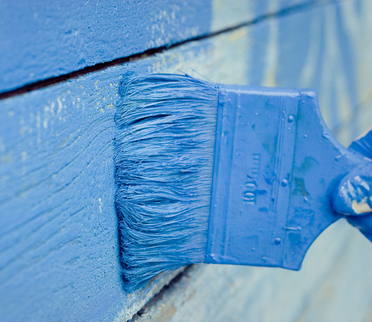
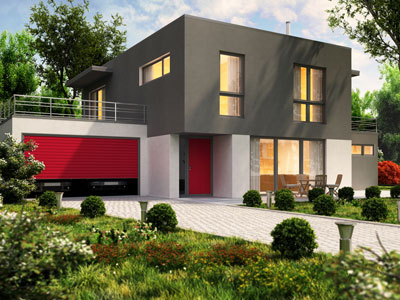
This could take the form of a grandiose mural, a new eye-catching color, or just a refresh of the color that’s already there. It’s a relatively inexpensive and simple way to bring your garage door, and by extension your home, back to life and improve the curb appeal of your home. But it will take planning, preparation, and time.
Planning
Just like other outdoor paint projects, you’ll want to make sure the Pacific Northwest weather we talked about earlier cooperates. The best outdoor conditions for painting are when you can work out of direct sunlight in temperatures between 50 and 90 degrees F, with moderate humidity.
Hot weather and penetrating sun can cause the paint to dry too quickly, leaving streaks. Of course, rain, wind, and other stormy situations won’t do you any favors, either. Rain will wash away all of your hard work (and leave it on the driveway if you don’t use a drop cloth) and wind will continually kick up dust and debris, sticking to the new paint.
If you must work in very warm, humid weather, be sure to double your drying time on the first coat before applying the second coat. Doing so will help you avoid peeling paint, which can occur due to the collection of moisture under the first coat. So painting the garage door is strictly a Spring to early Fall kind of job.
Prepare and Proceed
Make sure you have everything you need to start painting. This includes using painters tape around windows or removing hardware (if possible) that you don’t want to get paint on. Putting down a drop cloth will protect the driveway and garage floor.
Last, but not least, make sure you have enough primer and paint to complete at least a single coat. Stopping halfway through to go get another gallon of paint will leave the door looking streaky. When buying paint, ask the employee what kind of coverage you can expect.
When it comes to supplies, a paint tray, liners, brushes, and rollers are obvious staples. If your garage door panels don’t have recesses, a roller can do most of the work. But any kind of ridges, crevices, or other indentations will need brushes.
When you buy paint, the store will give it a good shake to make sure all of the pigment is thoroughly mixed. Even white paint needs to be shaken before use. If you plan on painting over the next few days, that’s should be enough.
Much longer than that you’ll want to give the paint a good stir before using. There are attachments for your power drill that will allow you to quickly mix the paint before use. You don’t necessarily have to shake primer, but it doesn’t hurt to give it a little mix.
Now it’s just a matter of pouring the paint into a tray for a roller or dipping the brush into the gallon of paint. Many ladders even have a shelf for you to place the can when reaching the top of the garage door.
Panels
Begin with the top panel of the garage door and paint into the recessed area. Be sure to paint recessed areas by beginning at the corner and continuing around the perimeter until the entire panel is complete. Repeat this process until each panel and recess is complete. Wipe away any paint that has run over onto the stiles.
Perimeter
Using your brush, paint around the perimeter of your garage door, painting a 2”- 3” wide section and beginning at the top corner, moving along the walls. Next, pour paint into your paint tray and reload your roller for the next section. Use a ⅜” – ¾” roller cover for best results. Paint around the perimeter of each panel, continuing until the garage door is complete.
Frame & Trim
Once again using your brush, paint the inside frame of the door by beginning at the top of the frame and continuing until the frame is complete. Wipe excess paint from the trim. Next, begin at the top corner of the door and paint the side edge to where it meets the wall. Paint all edges until the trim is complete.
Nothing chips away at the visual impact of your home more than a worn-down paint job. By adding new fresh paint, you improve the appearance of not just your garage but your entire property. Be sure to paint during the correct weather conditions and remember to follow the above painting process to ensure a long-lasting finish.
Does Garage Door Material Make a Difference?
Long gone are the days of wood being the only choice of material for a garage door. Steel, aluminum, and even vinyl can be used for the single largest moving part of your home. So while preparing to paint the garage door remains the same – cleaning, taping, etc. – what kind of paint and how you paint can be different.
Here’s a look at the five most common garage door materials and what you need to think about when painting. Remember to use high-quality primers and paints and always wear eye protection and some kind of mask to protect your breathing.
Wood
When it comes to getting a new coat of paint, most of us have dealt with wood. Wooden outdoor furniture, window shutters, and decking all need a touch-up at some point. Painting a wood garage door is no different. So we’ll use wood as our baseline.
The planning and preparation from above all apply to wood doors. Removing all of the chipped or bubbled paint, debris, and dust from the surface and sand down any rough edges. Make sure to use a finer grit of sandpaper because you don’t want to leave gouges in the surface of the door. Rinse the door to make sure it is free of all loose particles.
From there, follow the painting tips from above, taping around windows or hardware if needed. Applying a primer, allowing it to dry, and then two coats of oil-based exterior paint. Latex exterior paint can be used but is more prone to bubbling.
Steel
When it comes to preparing a steel door for painting, you’ll have to deal with removing rust as well as paint. Use a wire brush to remove as much of the rust as you can, then heavier grit sandpaper to remove any remnants. Rinse the door, making sure to remove any oils that may be present.
Priming is a little more difficult because an extra step is needed with metal. First, you’ll want to apply a layer of zinc-chromate primer to prevent rust from forming in the future. Once applied, immediately apply an oil-based metal primer. Zinc-chromate acts as an adhesive for the primer and bonds to form a strong layer of protection against rust.
Once two coats of primer have been applied and dried, acrylic paint is the best for metal. Make sure the first coat of paint – it can take up to 12 hours – is completely dry before applying the second coat.
Aluminum
Aluminum is similar to steel when it comes to the prep work, scraping old paint or rust off then sanding any remaining spots that need it. Rinsing the surface with water and a degreaser and let it air dry completely. Use a self-etching primer to prime the aluminum following the directions. Once dry, another light sanding will help the paint adhere to the primer.
Then use exterior acrylic paint for two coats, making sure the first coat is completely dry before applying the second. Adding two coats of enamel sealer will protect the door that much more.
Fiberglass
When painting fiberglass, the weather can play a major factor. Ideal temperatures for painting fiberglass are between 65-90 degrees Fahrenheit. The humidity levels should be below 60 percent. If it’s too humid, cold, or hot, the paint won’t dry or adhere as well as it should.
Prepare the surface like you would any other material by wiping away excess dirt and debris. Finally, sand the surface down with sandpaper, starting out rough and ending with 400-grit sandpaper. The surface should be smooth and dull. Wipe all dust away.
Use a polyurethane or epoxy paint for fiberglass – that’s right, no primer is necessary! Just be sure to follow all instructions, especially the epoxy paint as it needs a catalyst for optimum use. If you are using spray paint, however, a primer will be needed. Then apply primer and paint in coats, letting each dry before each application.
Apply a top coat if desired, but it is not necessary. Just make sure all of your primer, paint, and topcoat are the same – use oil-based paint with an oil-based primer. Allow for an appropriate amount of dry time.
Vinyl
Like the other surfaces, wash away all grime, dirt, and debris from the door. If the door has a wood-grain appearance, you’ll want to use a scrub brush to reach all the crevices. You won’t need to scrap or sand anything, just make sure the door is clean and dry before primer and paint.
From there, it’s pretty straightforward. Just make sure to use primer and paint specifically designed for vinyl. Water-based 100 percent acrylic or urethane-modified acrylic paint is the best.
How to Paint a Concrete Garage Floor
Why stop at the garage door? Painting the floor of your garage can improve the look and even improve safety. Bare concrete releases dust as it wears out. Paint seals the surface of the concrete. A painted floor keeps the garage, and everything in it, cleaner.
When dust settles on garage door electronic eyes and in the tracks, it causes trouble. Dirty tracks can bog down the movement of the door. Dust-covered safety eyes keep the automatic door opener from working. Keeping the components of your garage door clean and maintained helps avoid the need for garage door repairs.
It’s also a relatively easy and inexpensive project. A smooth coat of color makes the garage look great. Concrete paint comes in both latex and epoxy formulas. One-part epoxy paint is a good choice because it resists mold, mildew and stains. Epoxy-based paint tends to last longer than latex paint because it makes a strong bond with the floor.

Prepare to Be Floored
The right preparation makes the difference between a job that wows and one that falls flat. Get the floor in shape before you lay down the first coat of paint by doing the following:
- Clean: Wipe up oil spills. Remove loose debris by sweeping or vacuuming. If dirts remains, work on it with a pressure washer. After cleaning, allow the floor to dry.
- Repair: Fix small holes and cracks with a patch product designed for concrete.
- Texturize: A smooth floor won’t hold paint as well as one that has texture. An etching product will add roughness to concrete. Products are available that both clean and etch concrete.
- Primer: Some paint labels recommend applying a concrete primer to help with bonding.
Apply the Paint
Concrete usually requires two coats for an even coverage. After the first coat dries for several hours, assess if a second coat is needed. In general, paint a concrete garage floor when the surface temperature of the floor is between 50-90 degrees Fahrenheit. Follow the instructions that come with your paint.
Here’s how to proceed:
- Apply the first coat. Paint the edges of the floor using a nylon bristle brush. Use a roller to apply a thin, even layer of paint. Work in one direction using long strokes.
- Apply the second coat. Allow the first coat to dry for at least four hours or as specified on the label. Apply the second coat in a crosswise direction from the first coat.
- Allow the paint to cure. The paint will feel dry within a few hours, but it won’t be ready for foot traffic for a day or two. Wait at least 24 hours before walking on the paint. A full week of curing may be required before it’s safe to park your car in the garage.
If your garage door needs more than a facelift, contact Ponderosa today for a repair or replacement! Ponderosa Garage Doors installs beautiful, functional doors. If you’re remodeling your garage, don’t stop at the floor. Consider upgrading to a new garage door. Contact us for an estimate.